<< Previous Page | Next Page >>
Part 5: Collecting Data
In this part of the tutorial, you will:
Create an action on the tablet to capture data from the services we wrote.
Record a mission using those actions around your environment.
Play back the mission to autonomously capture data to the recorded locations.
Download the data from the robot.
Configure the robot to automatically upload its data to the cloud.
To collect data we will create an Autowalk mission with Spot.
Creating Actions
For our data collection, we want to capture from both sources. We will create a new action “web_cam_battery” that captures both. To do that, navigate to Settings -> Actions from the hamburger menu.
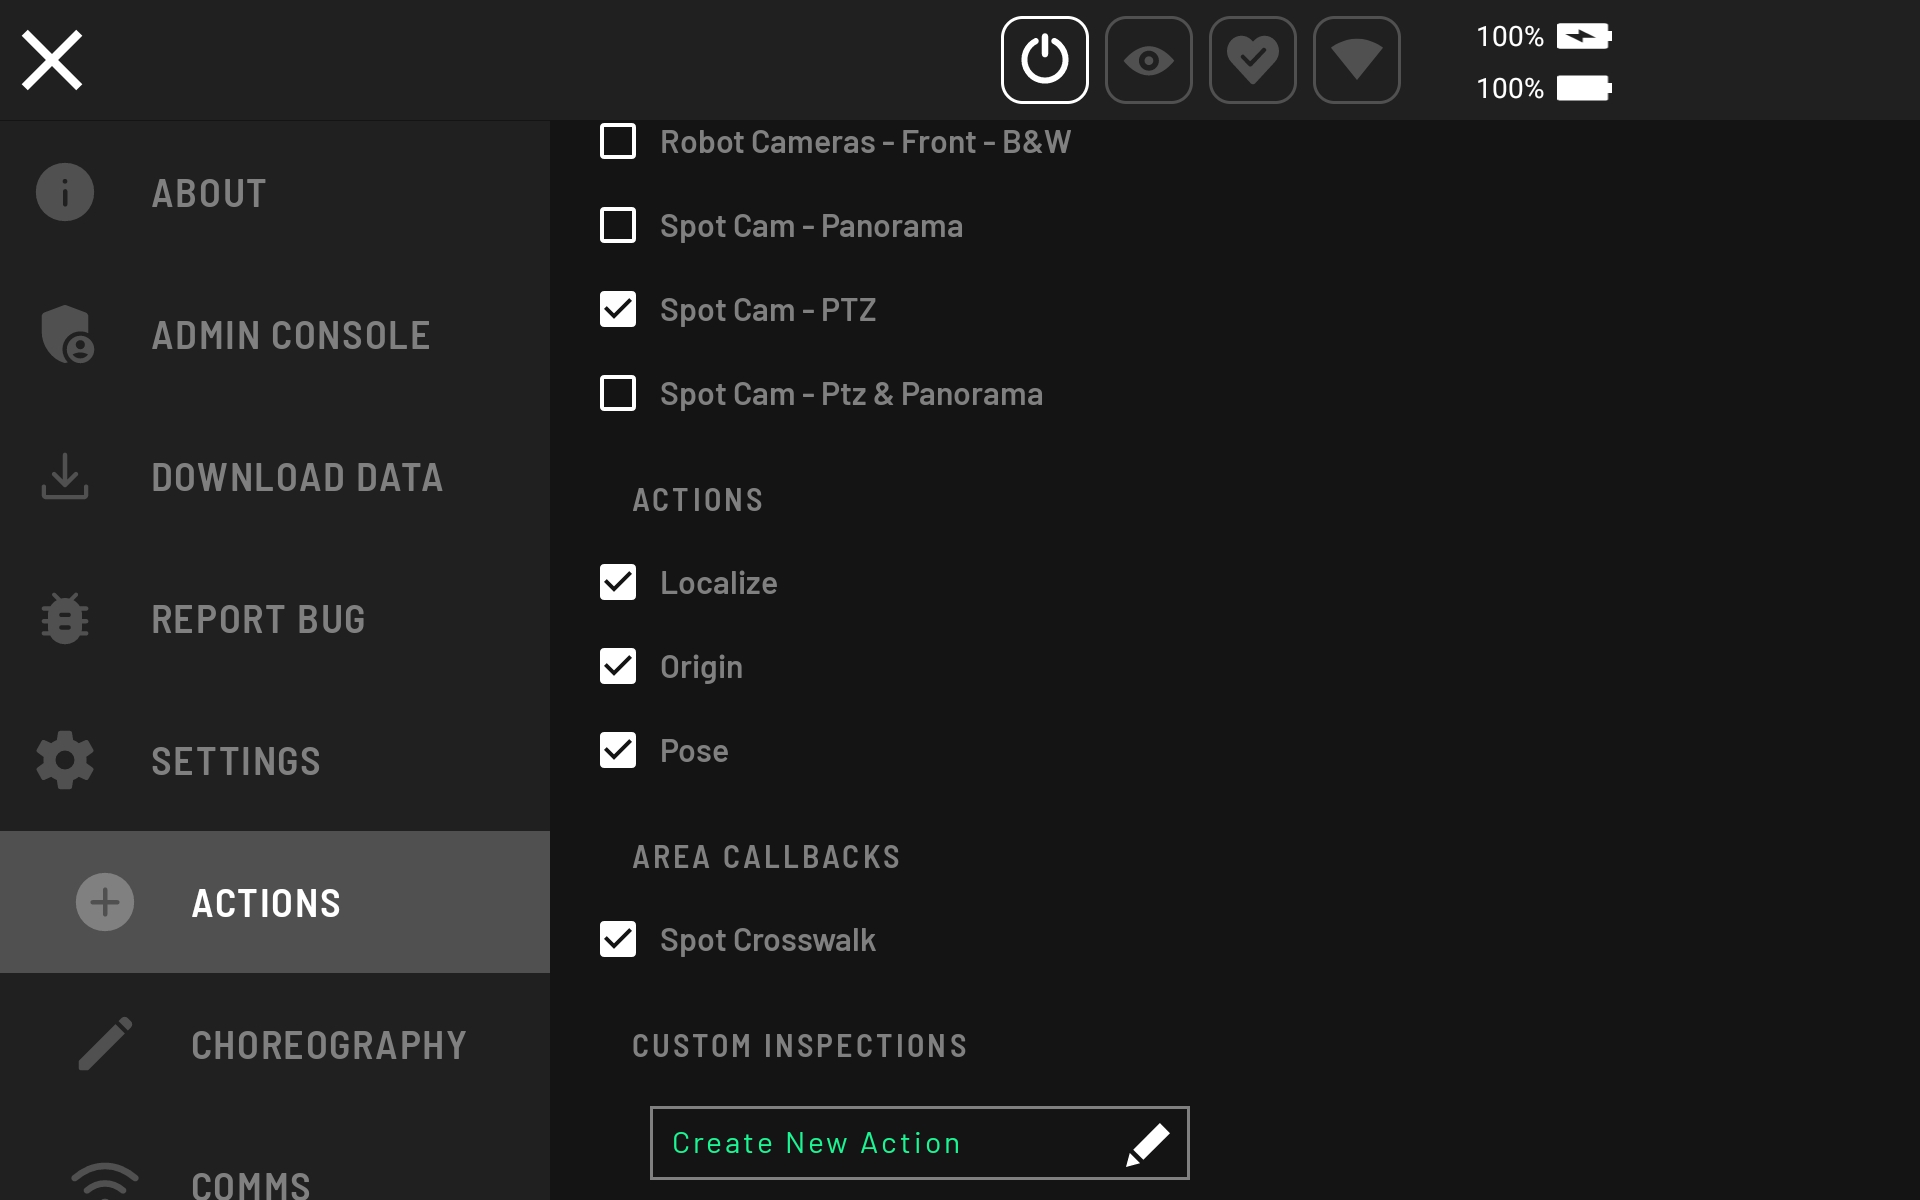
Then, click Create New Action, which brings up the menu shown below to choose a template.
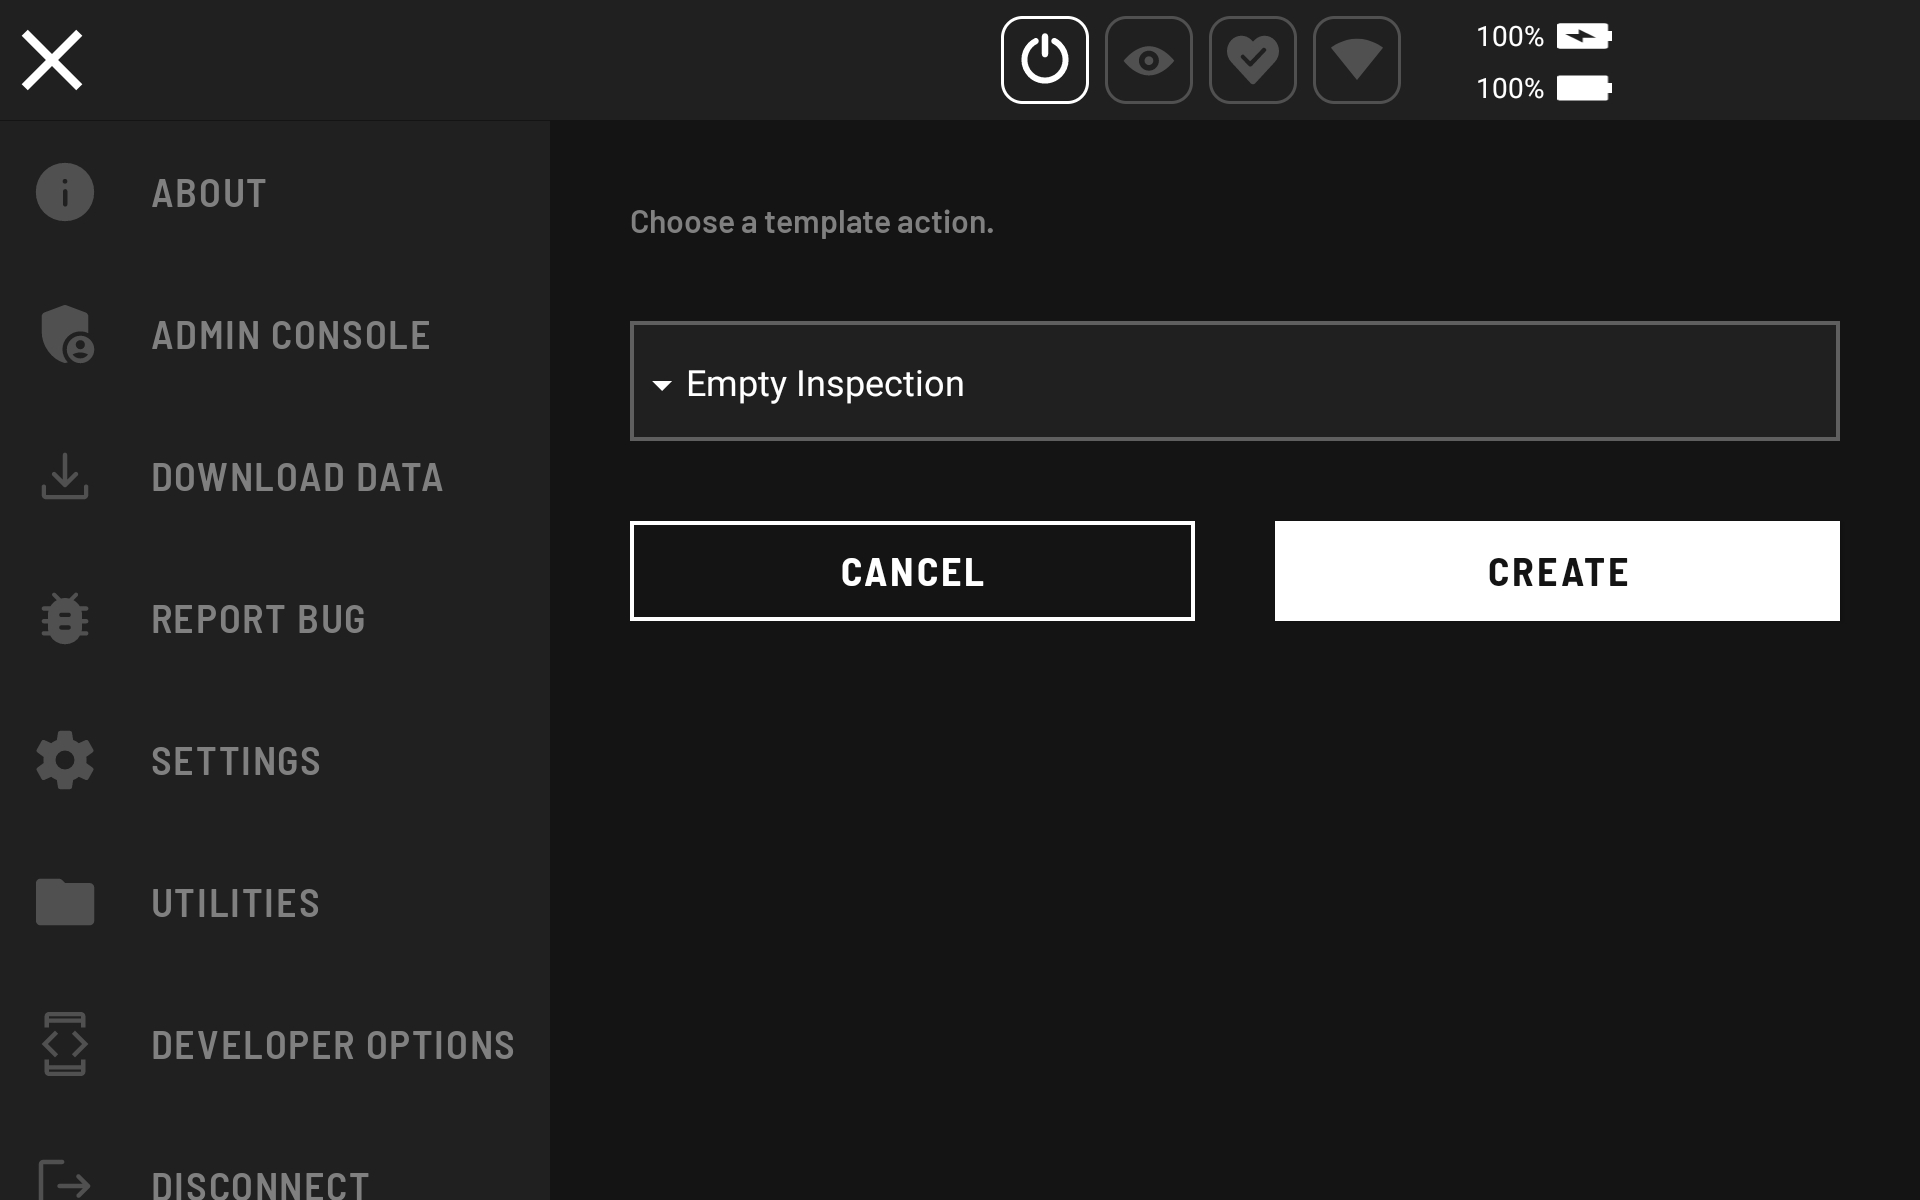
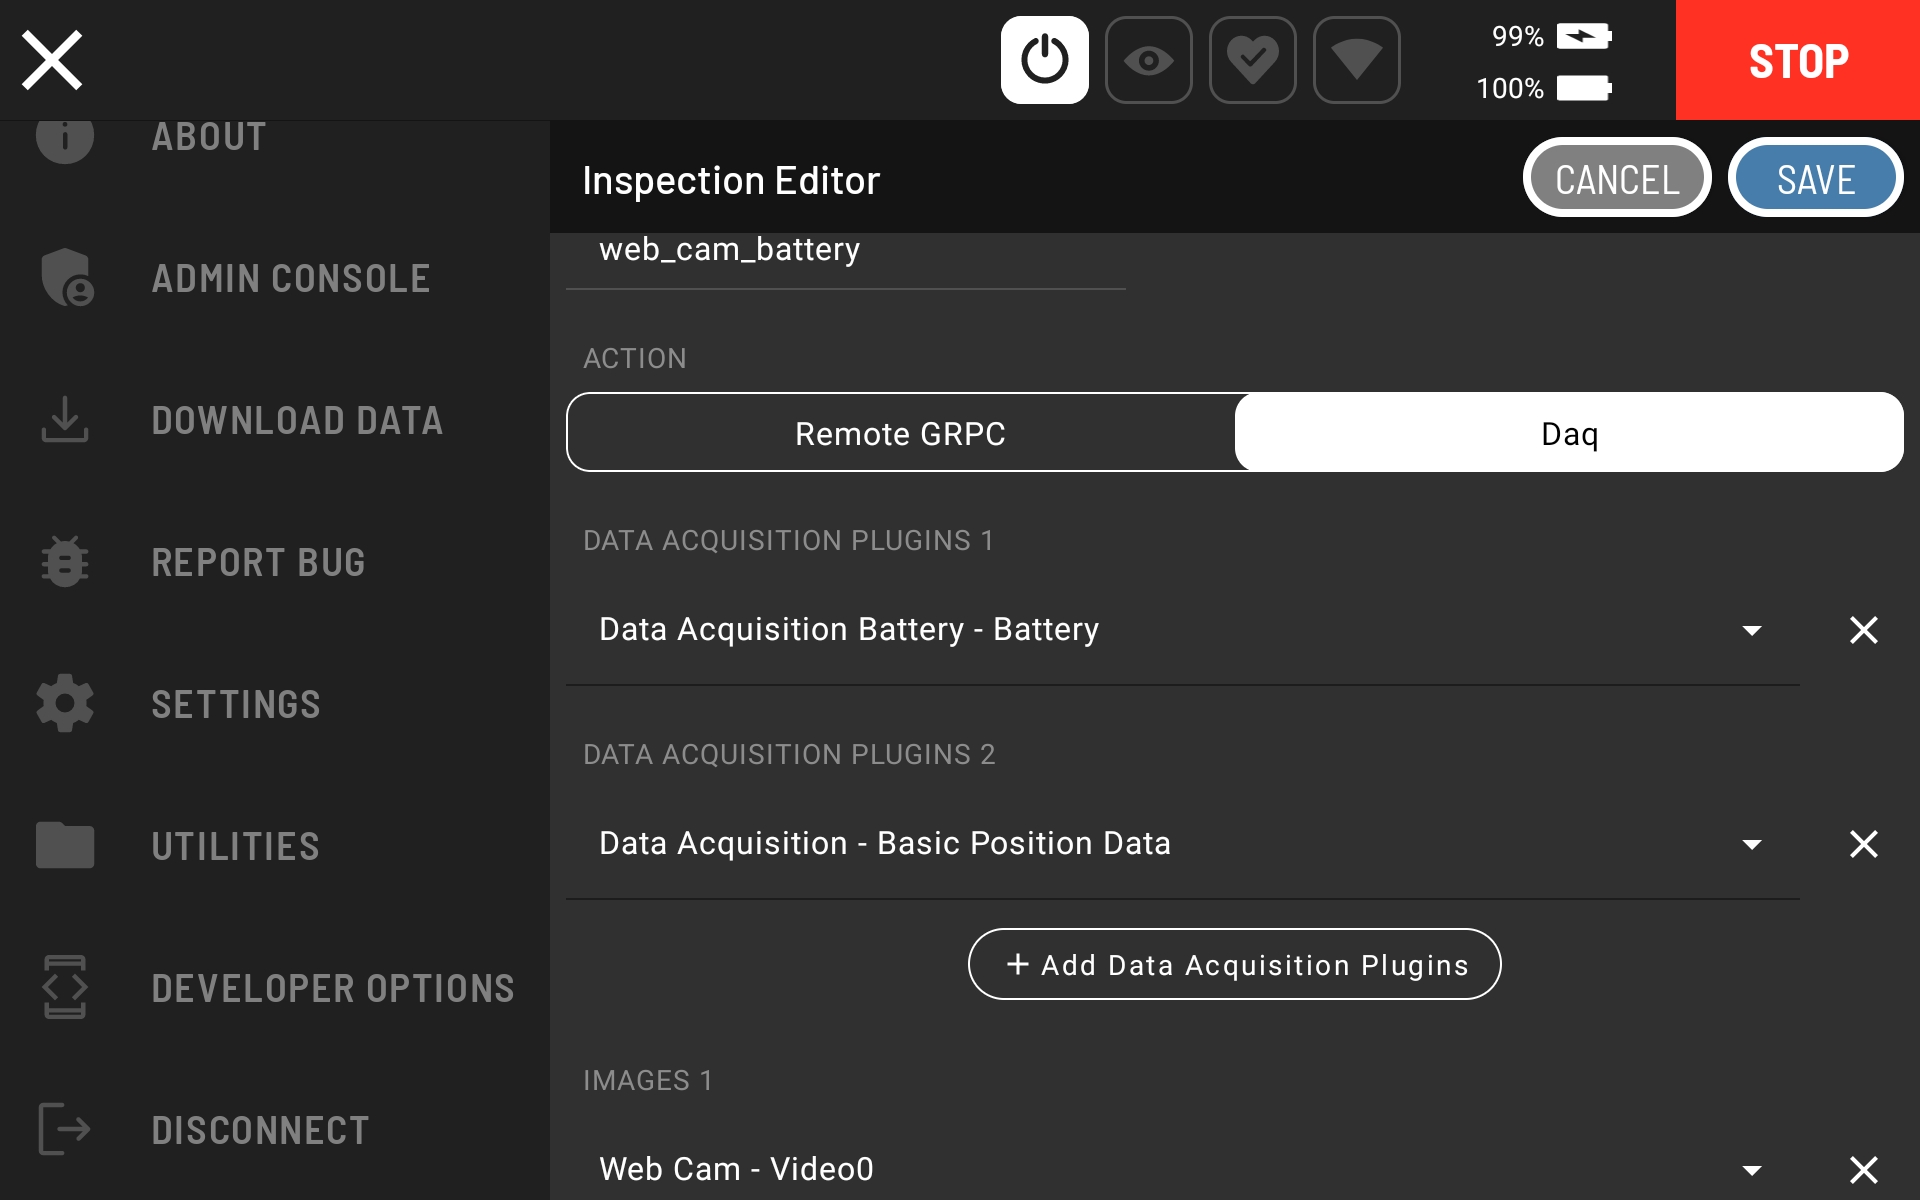
Select the Empty Inspection template and click CREATE. The following window pops up, where you can update the action name to “web_cam_battery”, select Daq option. Then, select Data Acquisition Battery - Battery as the Data Acquisition Plugin and add another Data Acquisition Plugin for Data Acquisition - Basic Position Data. Finally, click + Add Images and then and select Web Cam - Video0:
Testing the action
You may now drive the robot around and trigger the new action. This will cause it to capture both the web cam image and the battery data. This data can be downloaded from the “Download Data” in the hamburger menu, where you will be able to see the images captured directly on the tablet.
Mission Recording
Follow these steps to record a mission with the new captures:
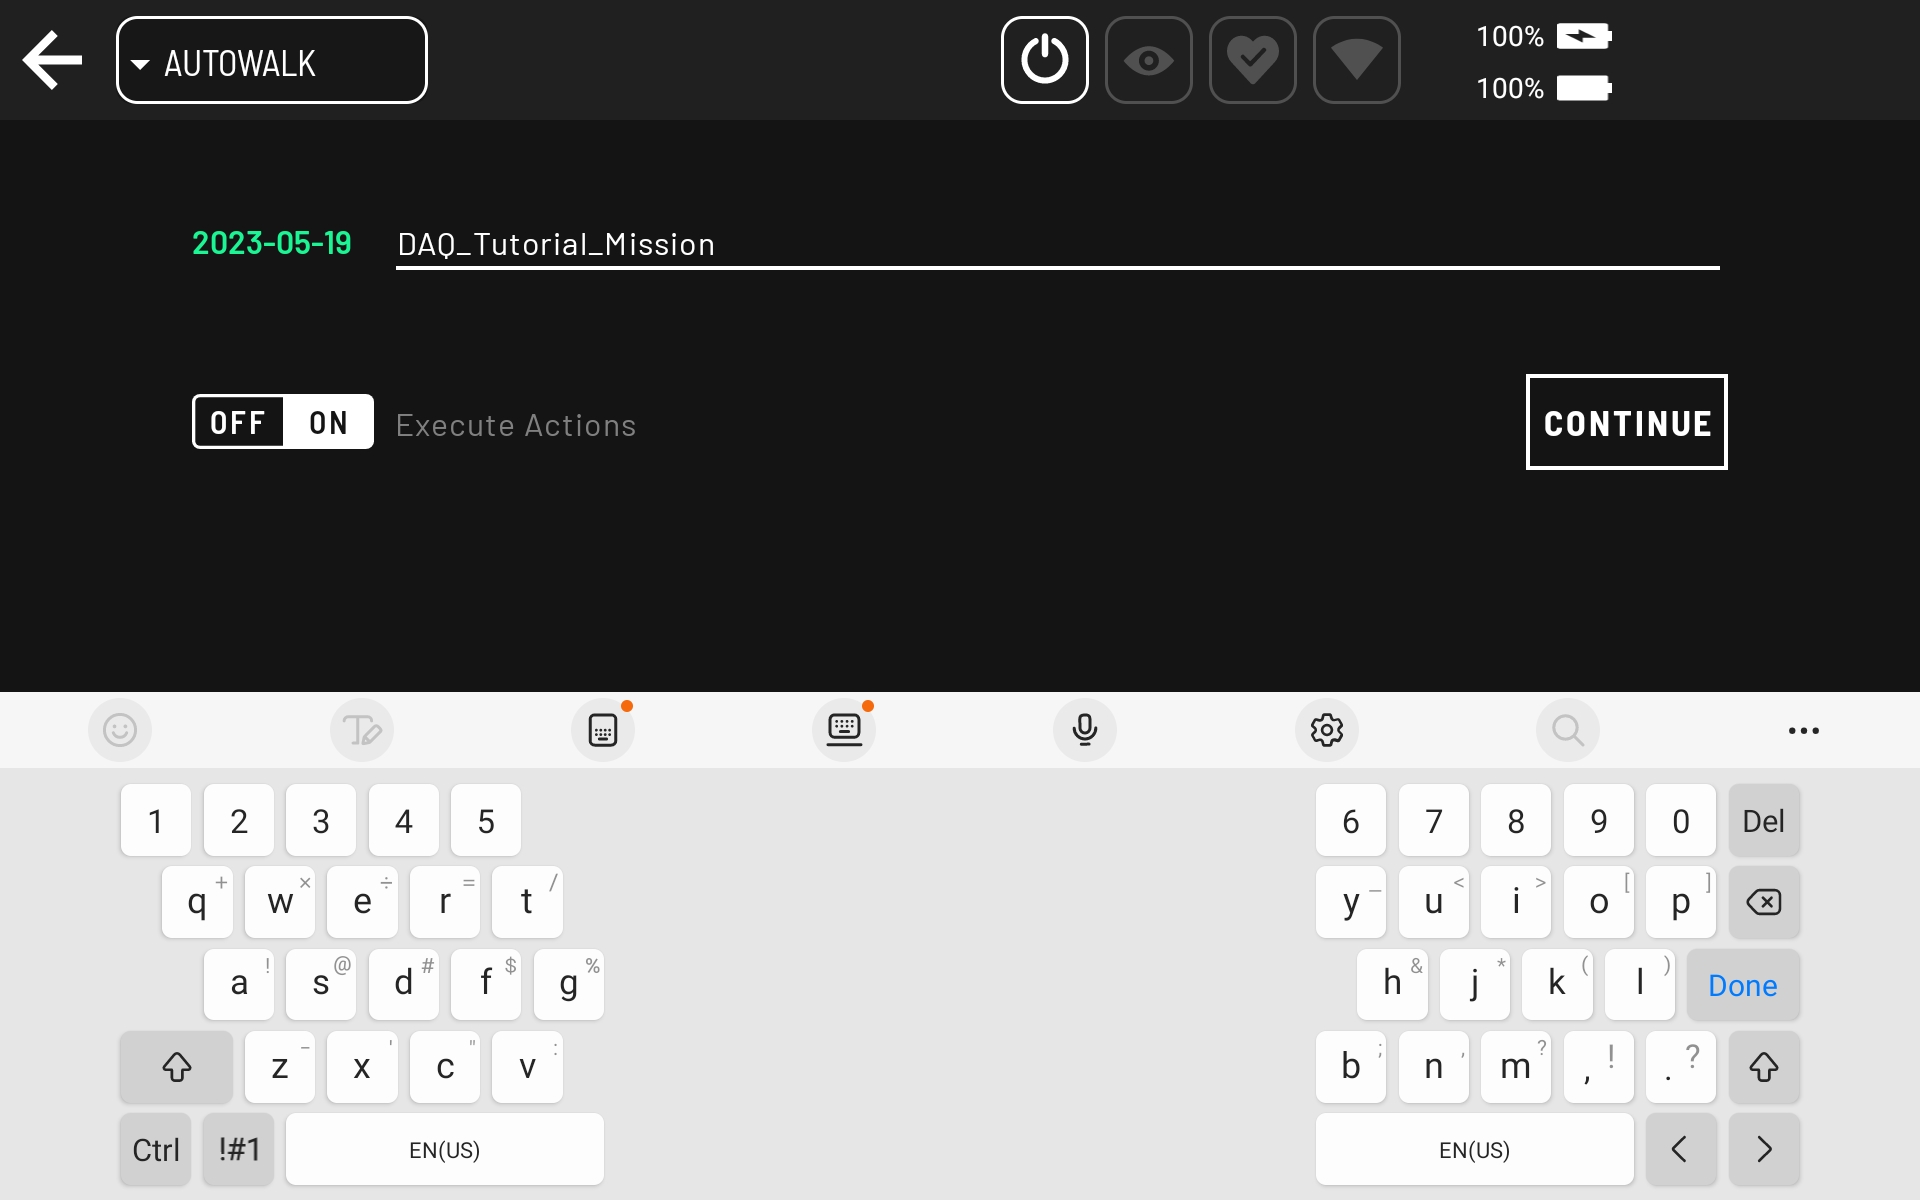
First select
Autowalkfrom the drop-down menu in the top-left corner of the app, and then selectRecord.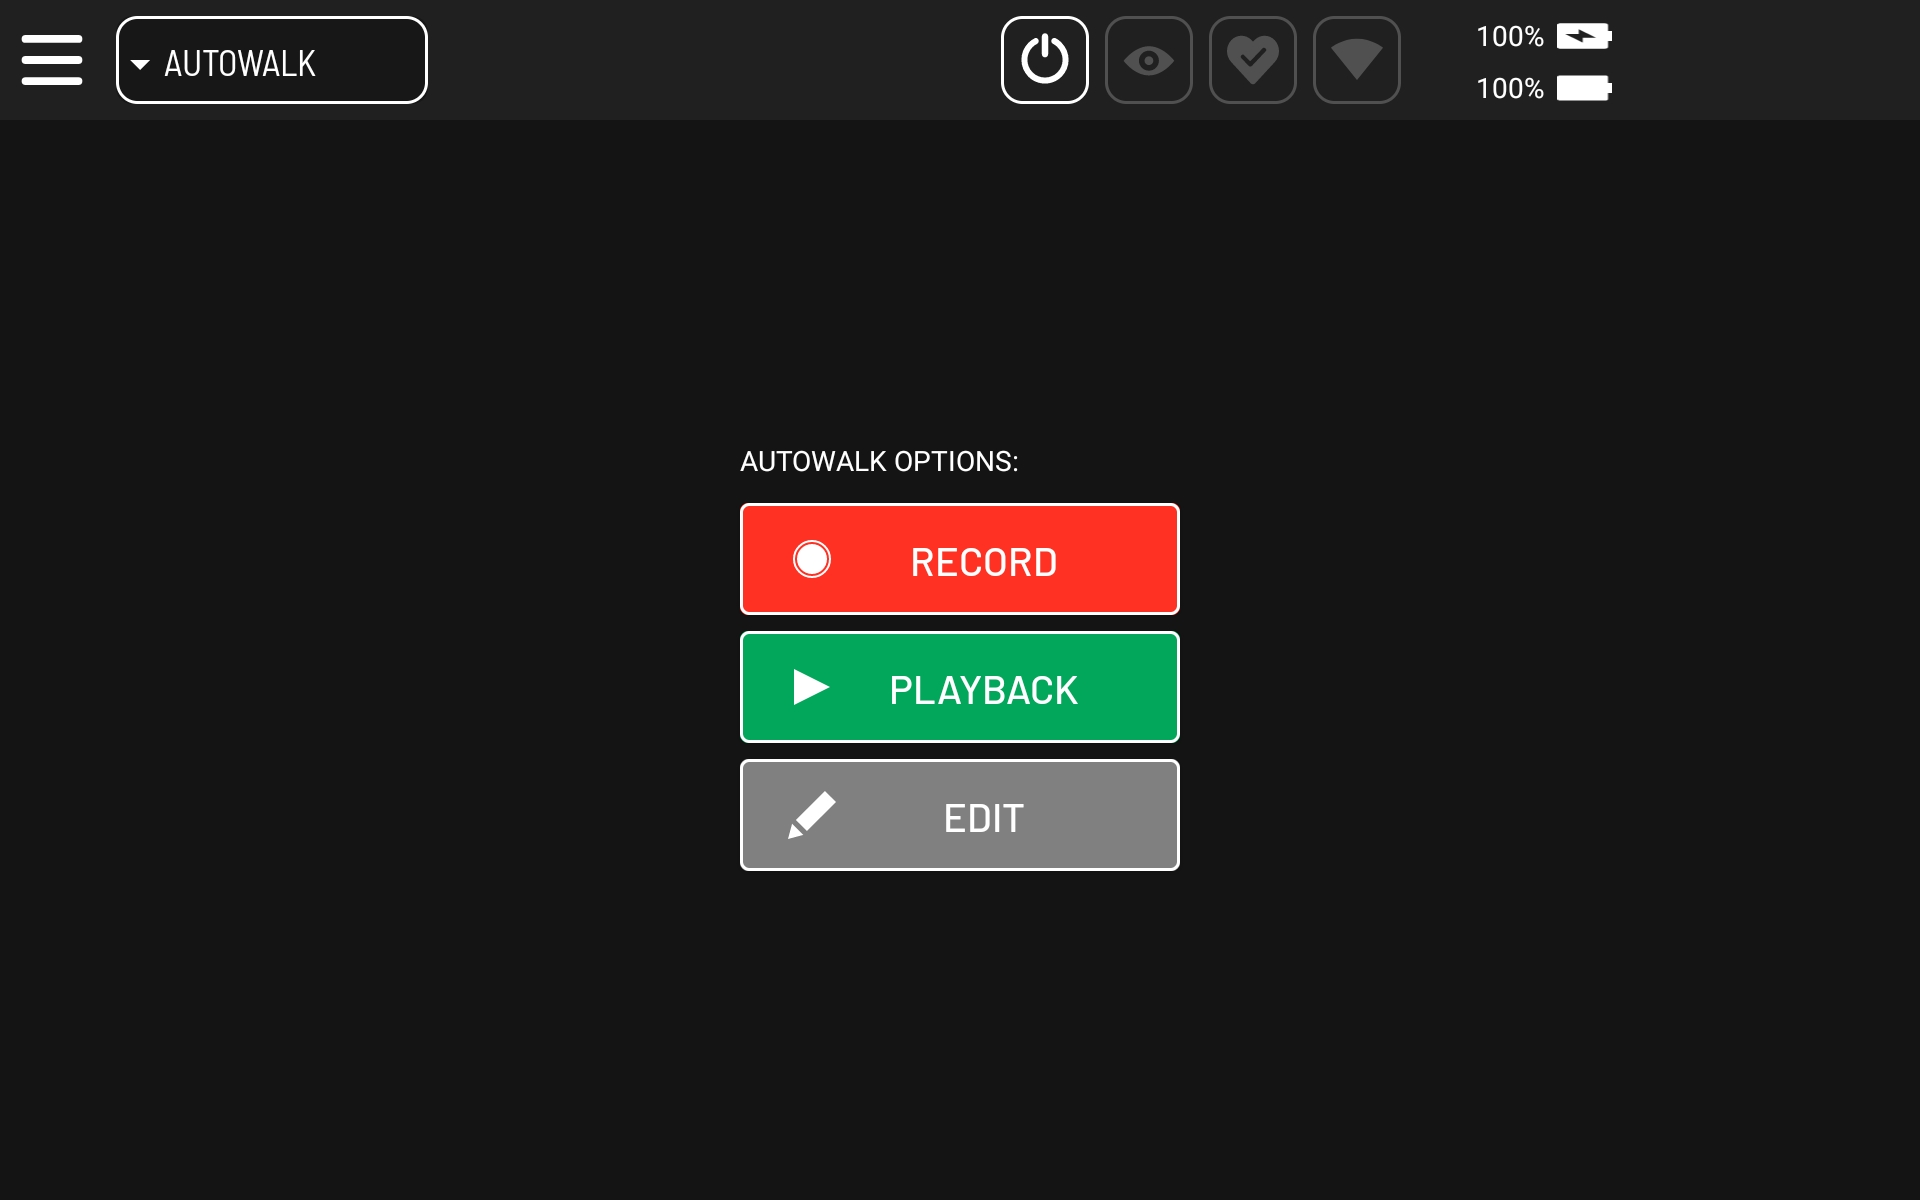
Enter mission name.
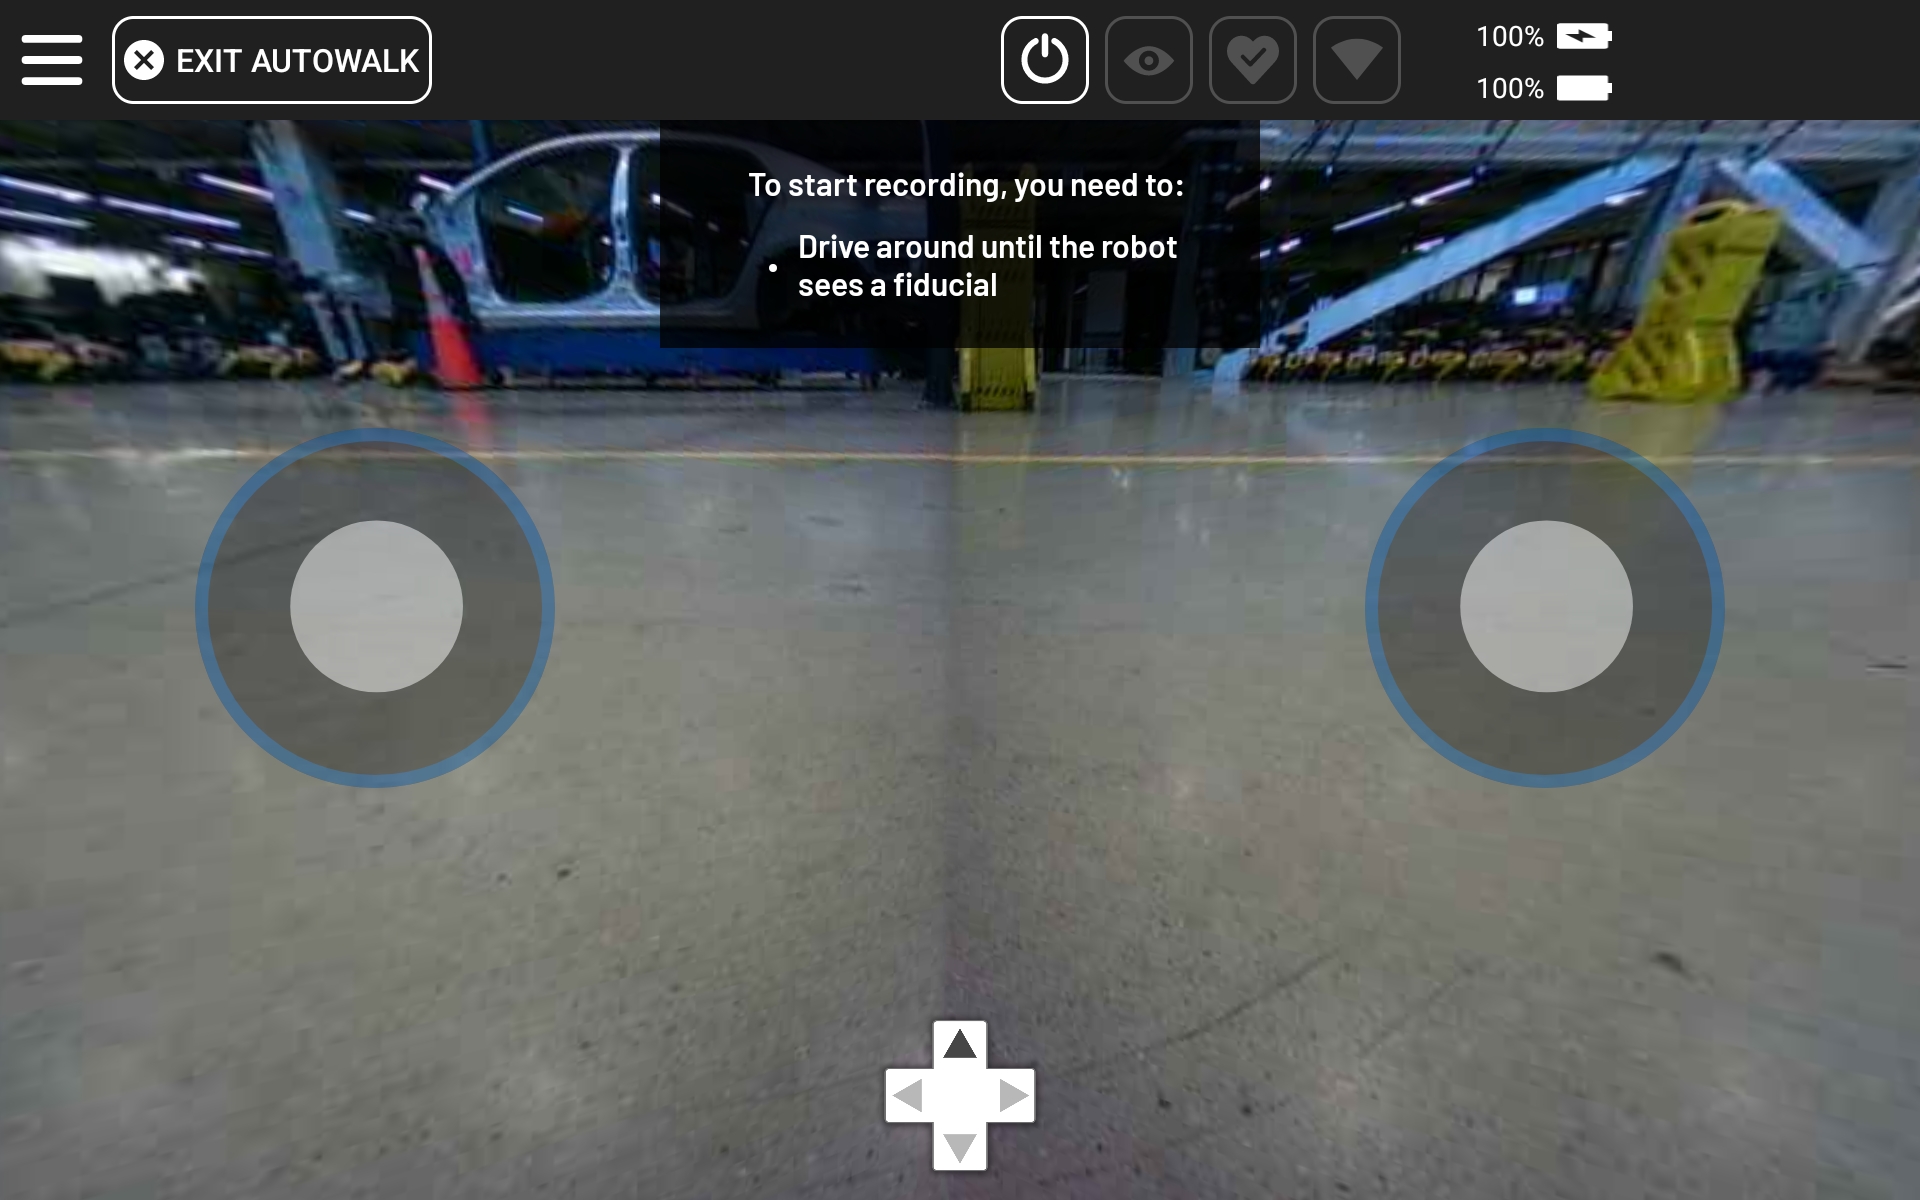
Stand the robot up and move it near a fiducial, if necessary. The app displays those two warnings till both are satisfied. The robot automatically detects fiducials in the robot cameras field of view.
Start recording.
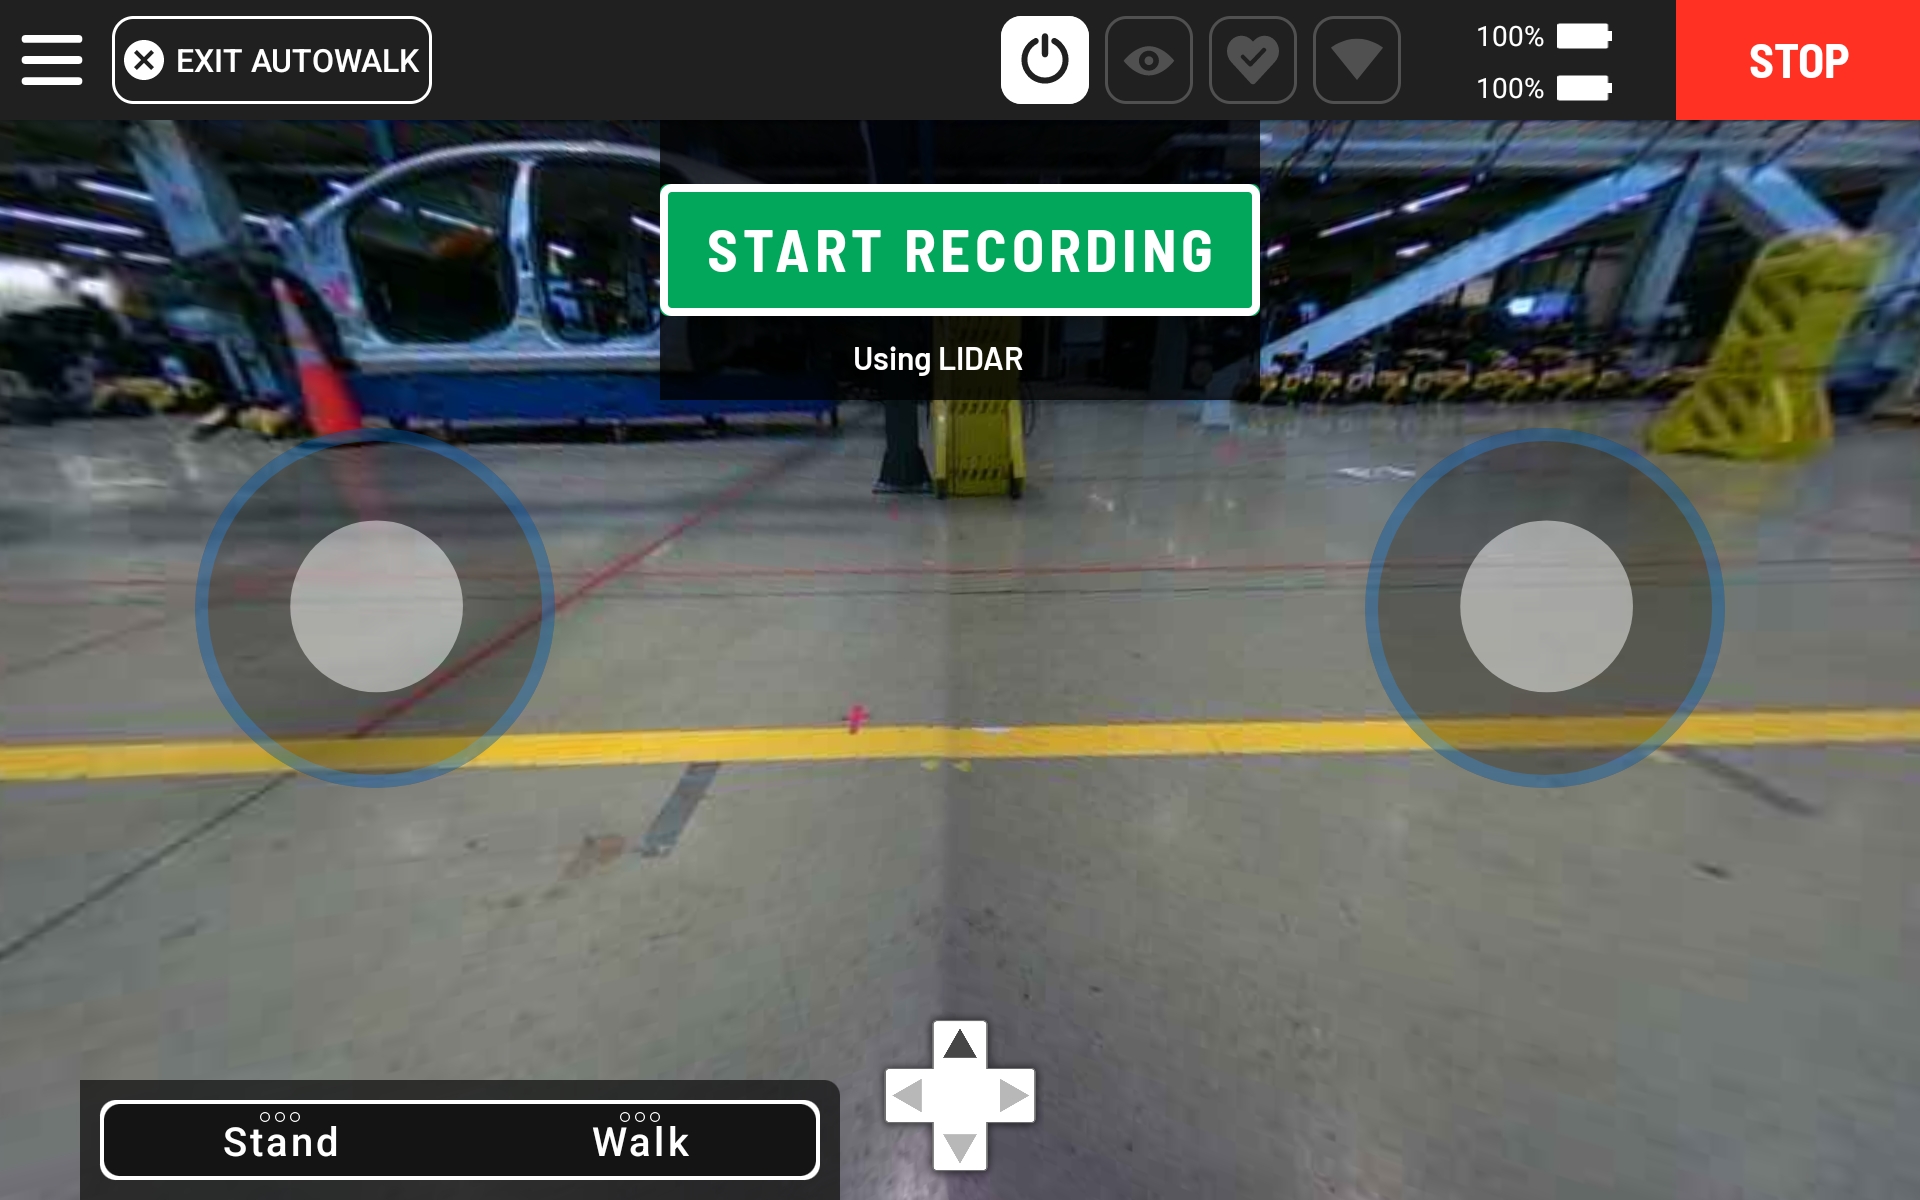
Move robot to location where to capture data.
Then, click the Red Plus button, select
INSPECTIONSand chooseweb_cam_batteryaction.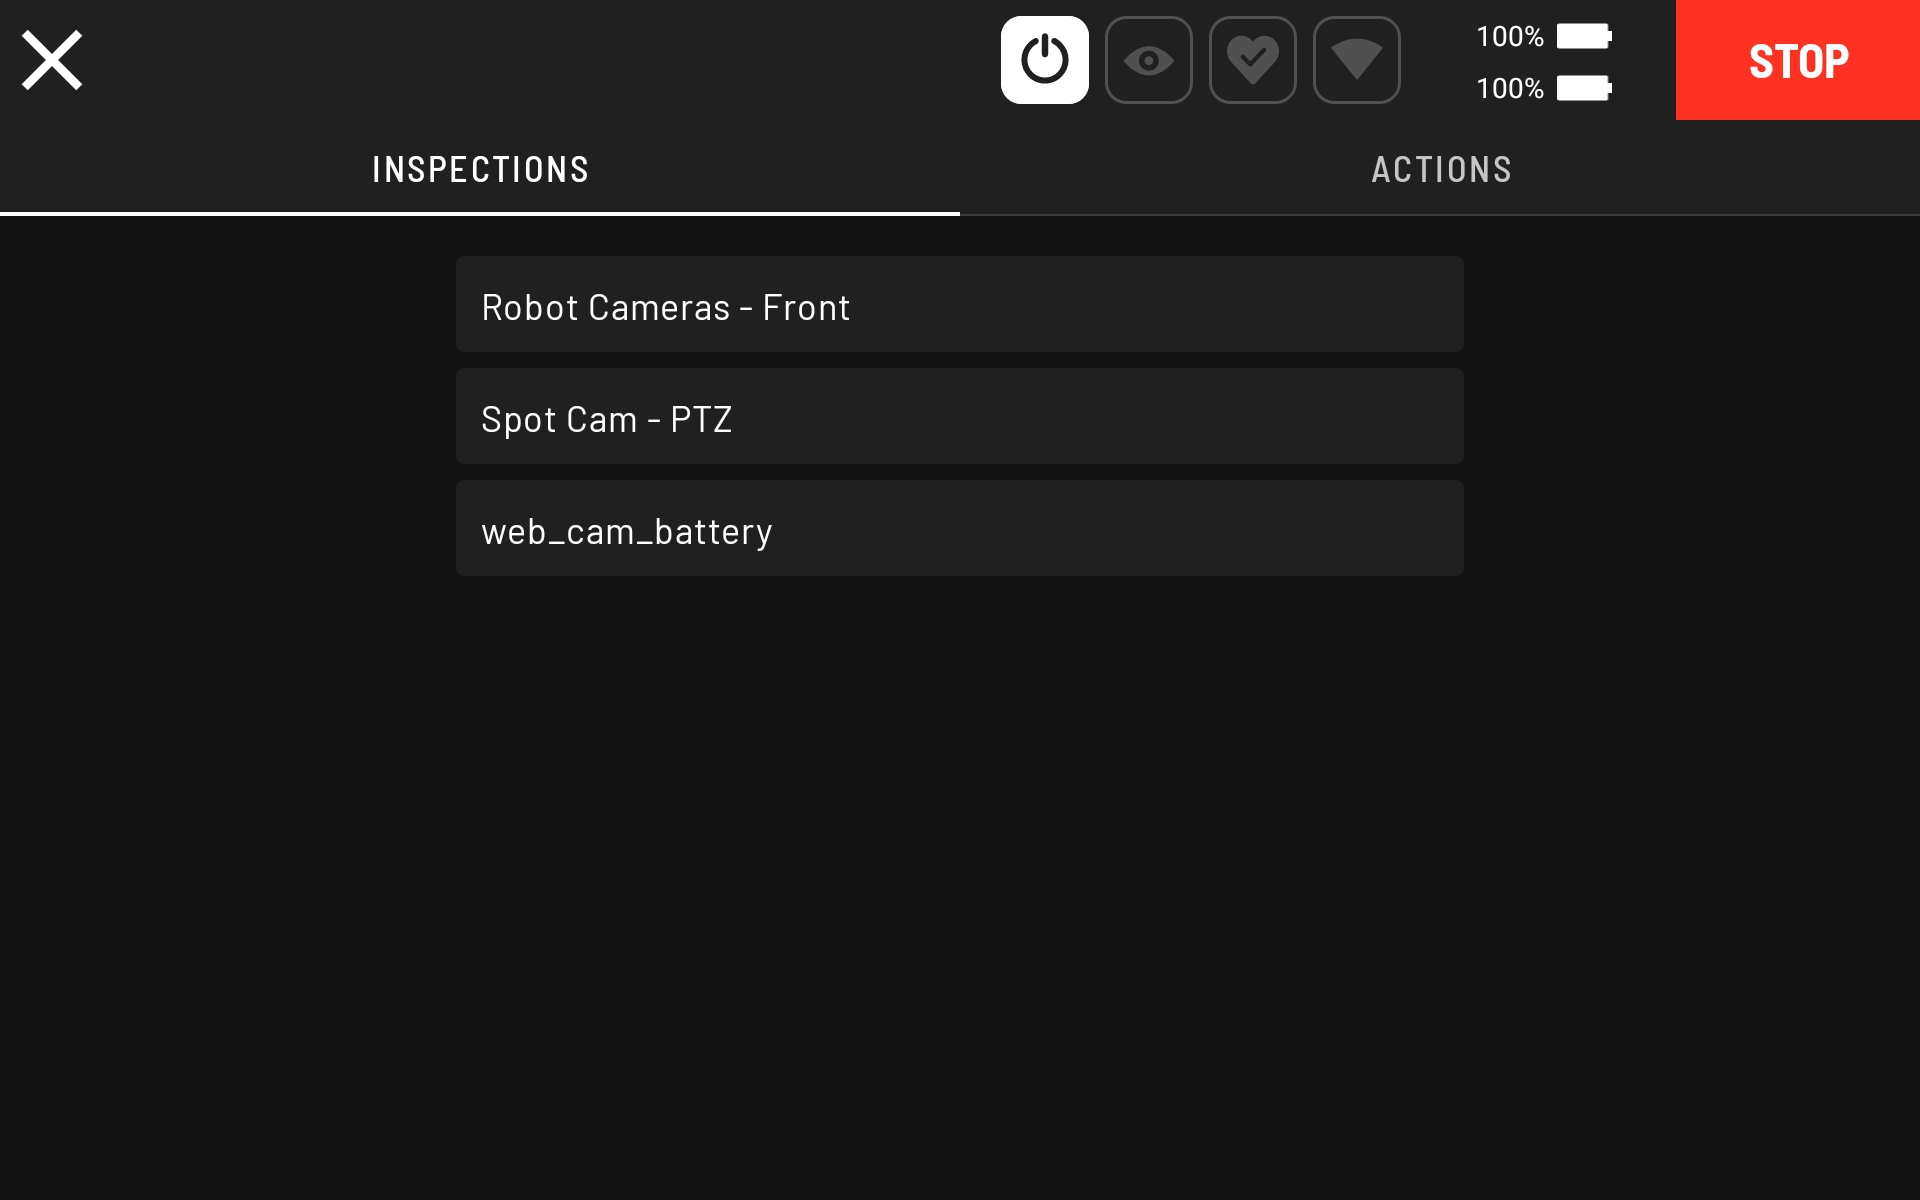
In the next screen, align the camera view with the arrows on the screen if necessary, and then click
Configure.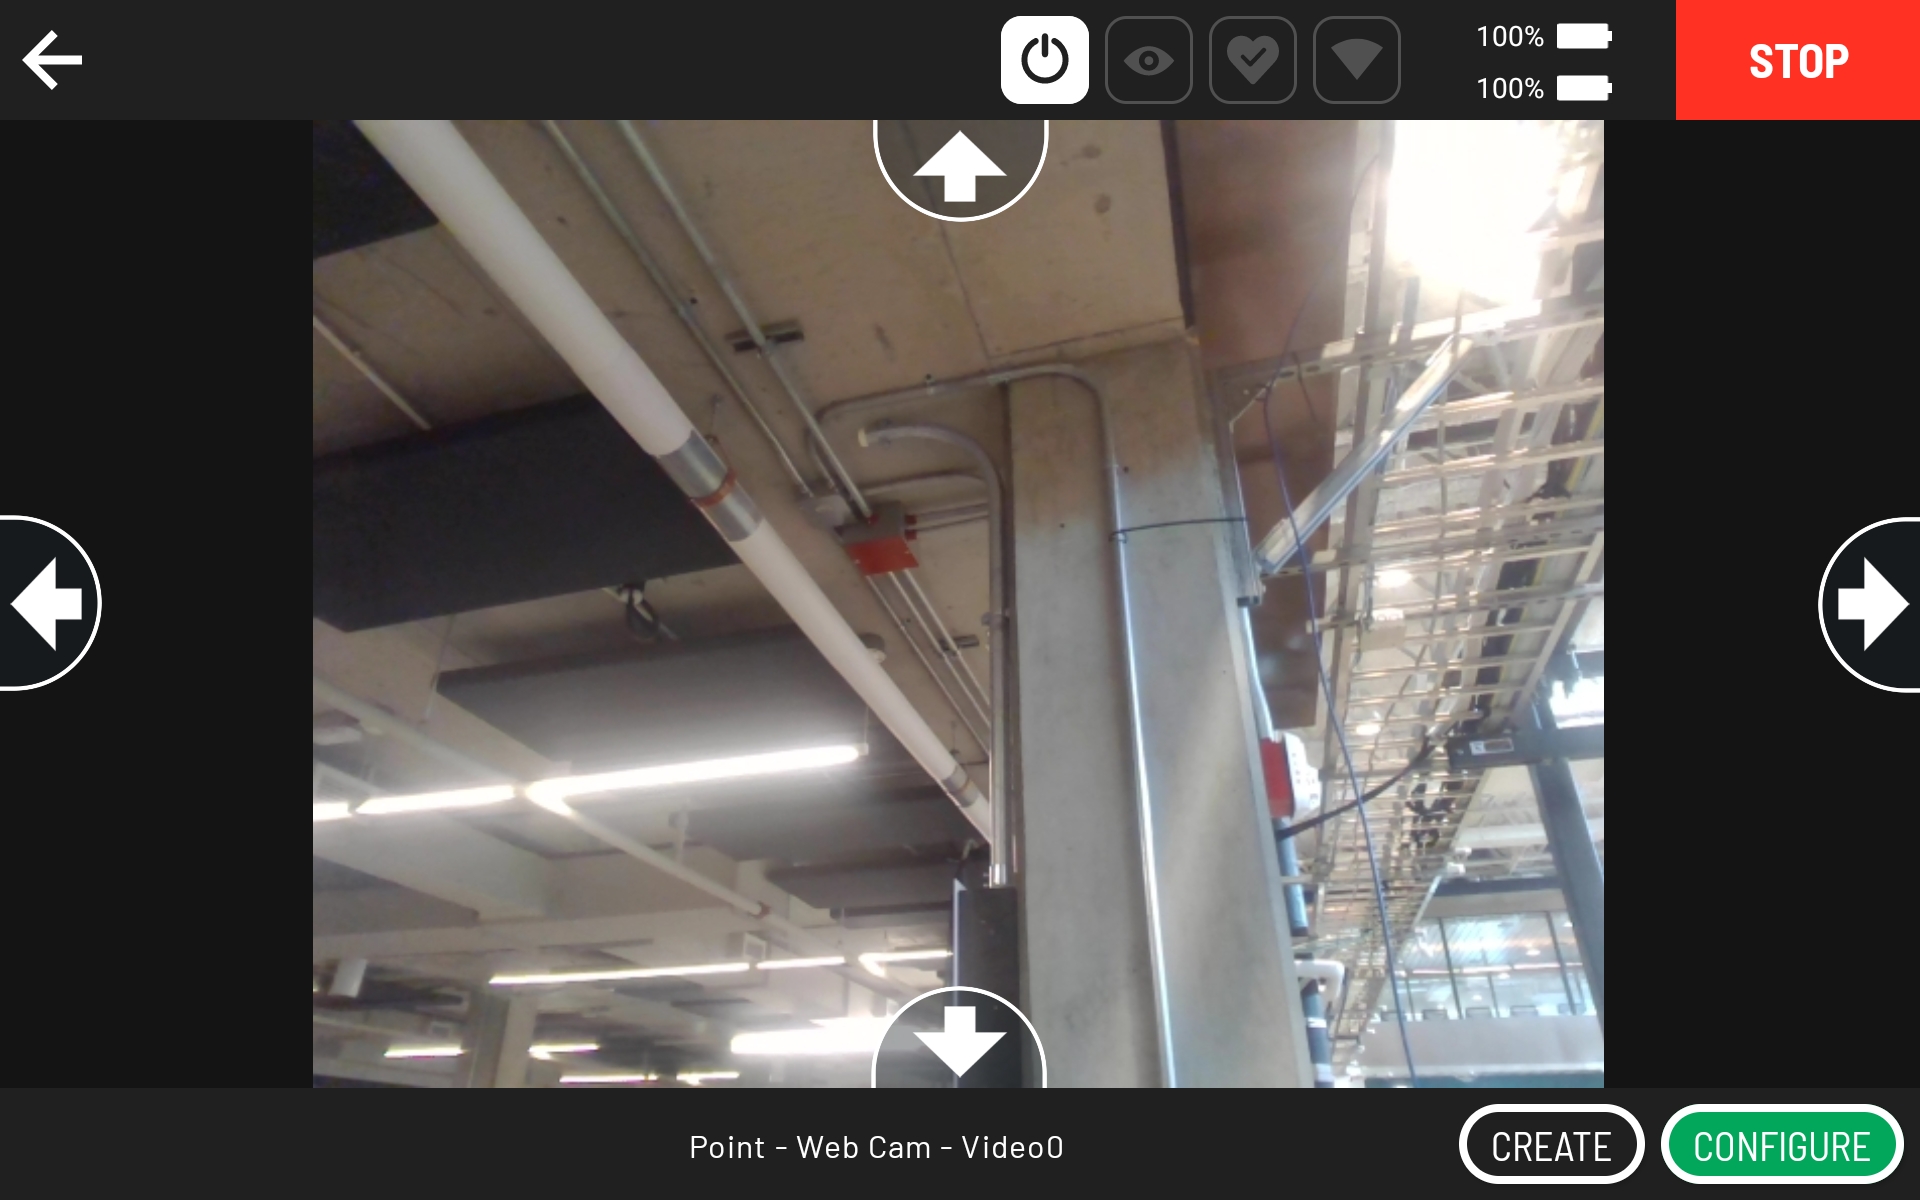
In the next screen, click
Createto create action.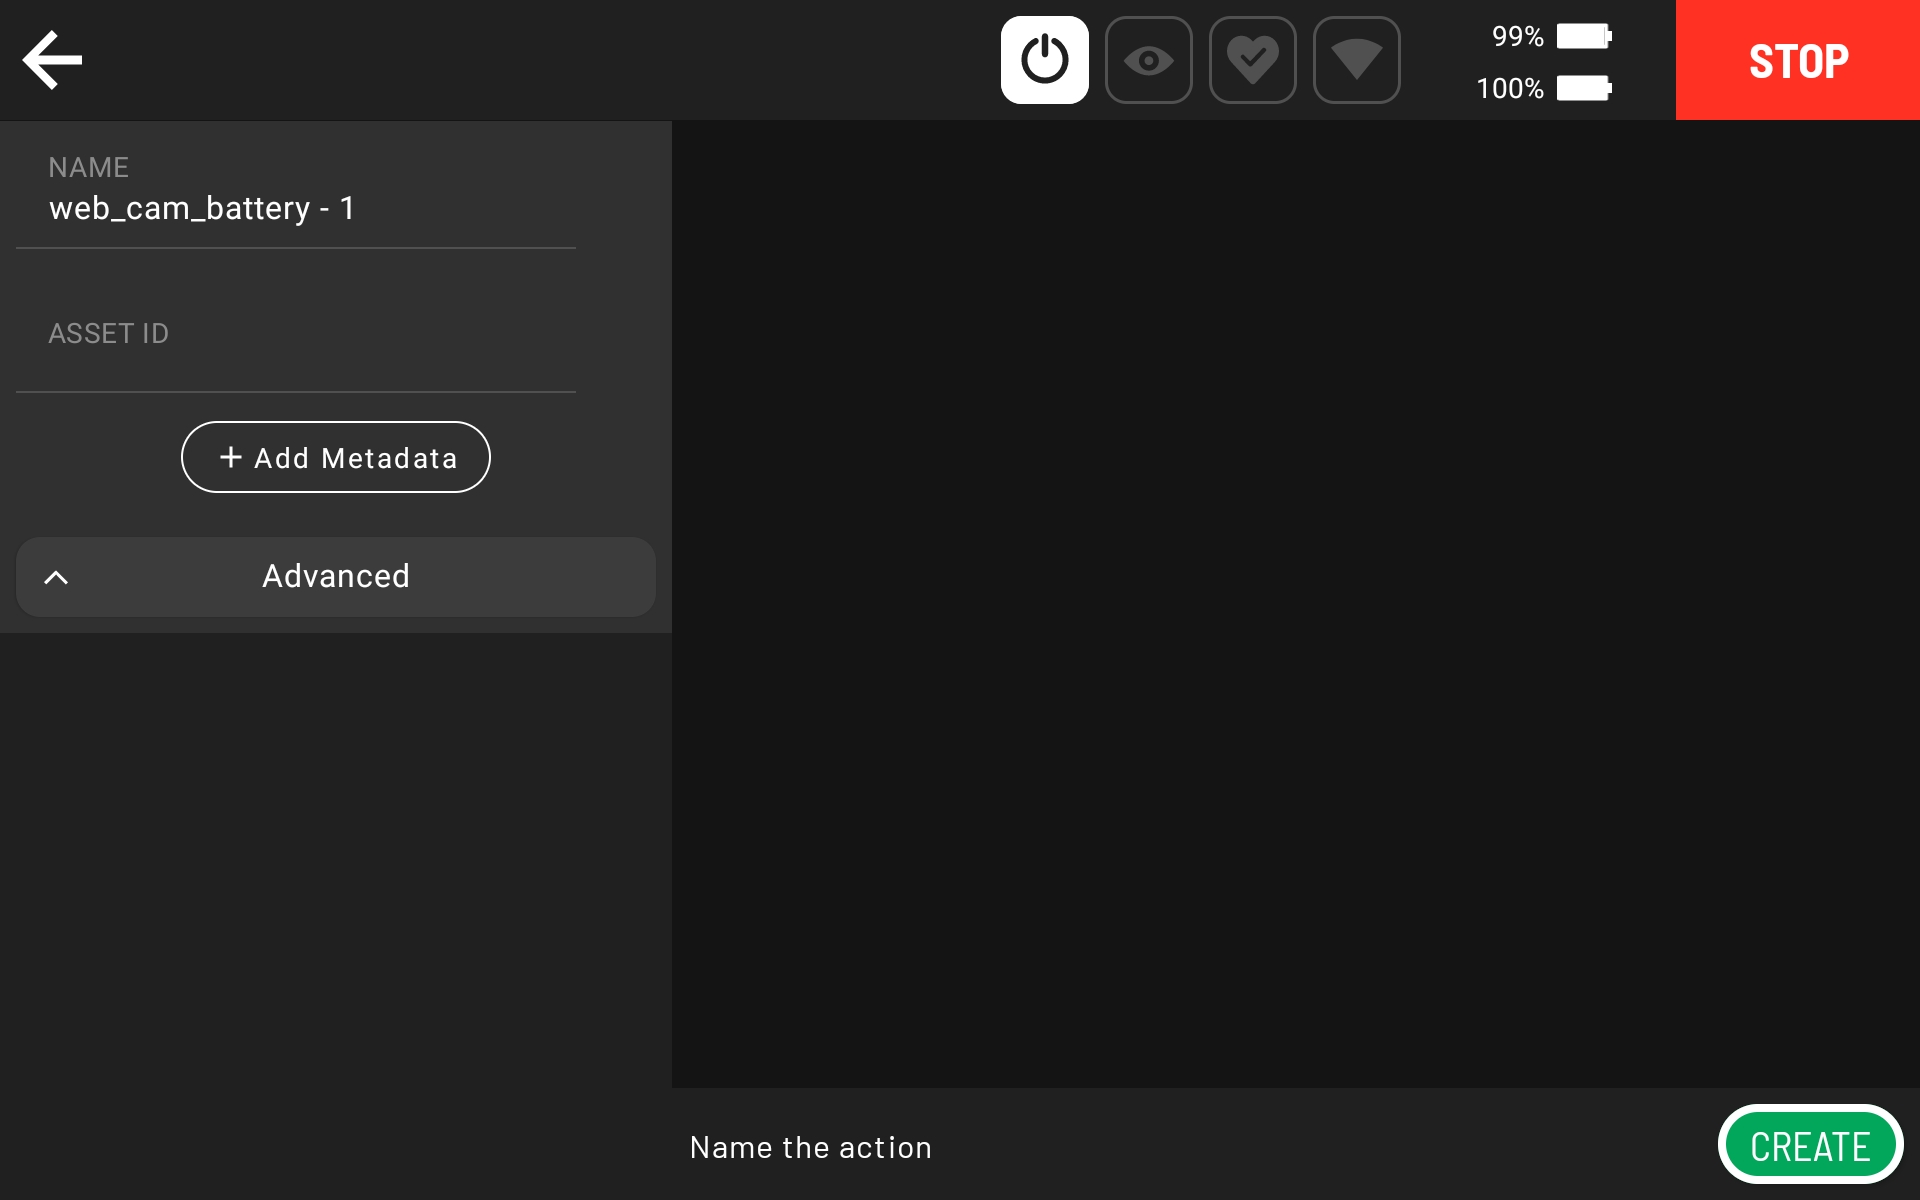
Repeat steps 5-8 as desired.
When done recording the mission, click
Finish Recordingto save mission.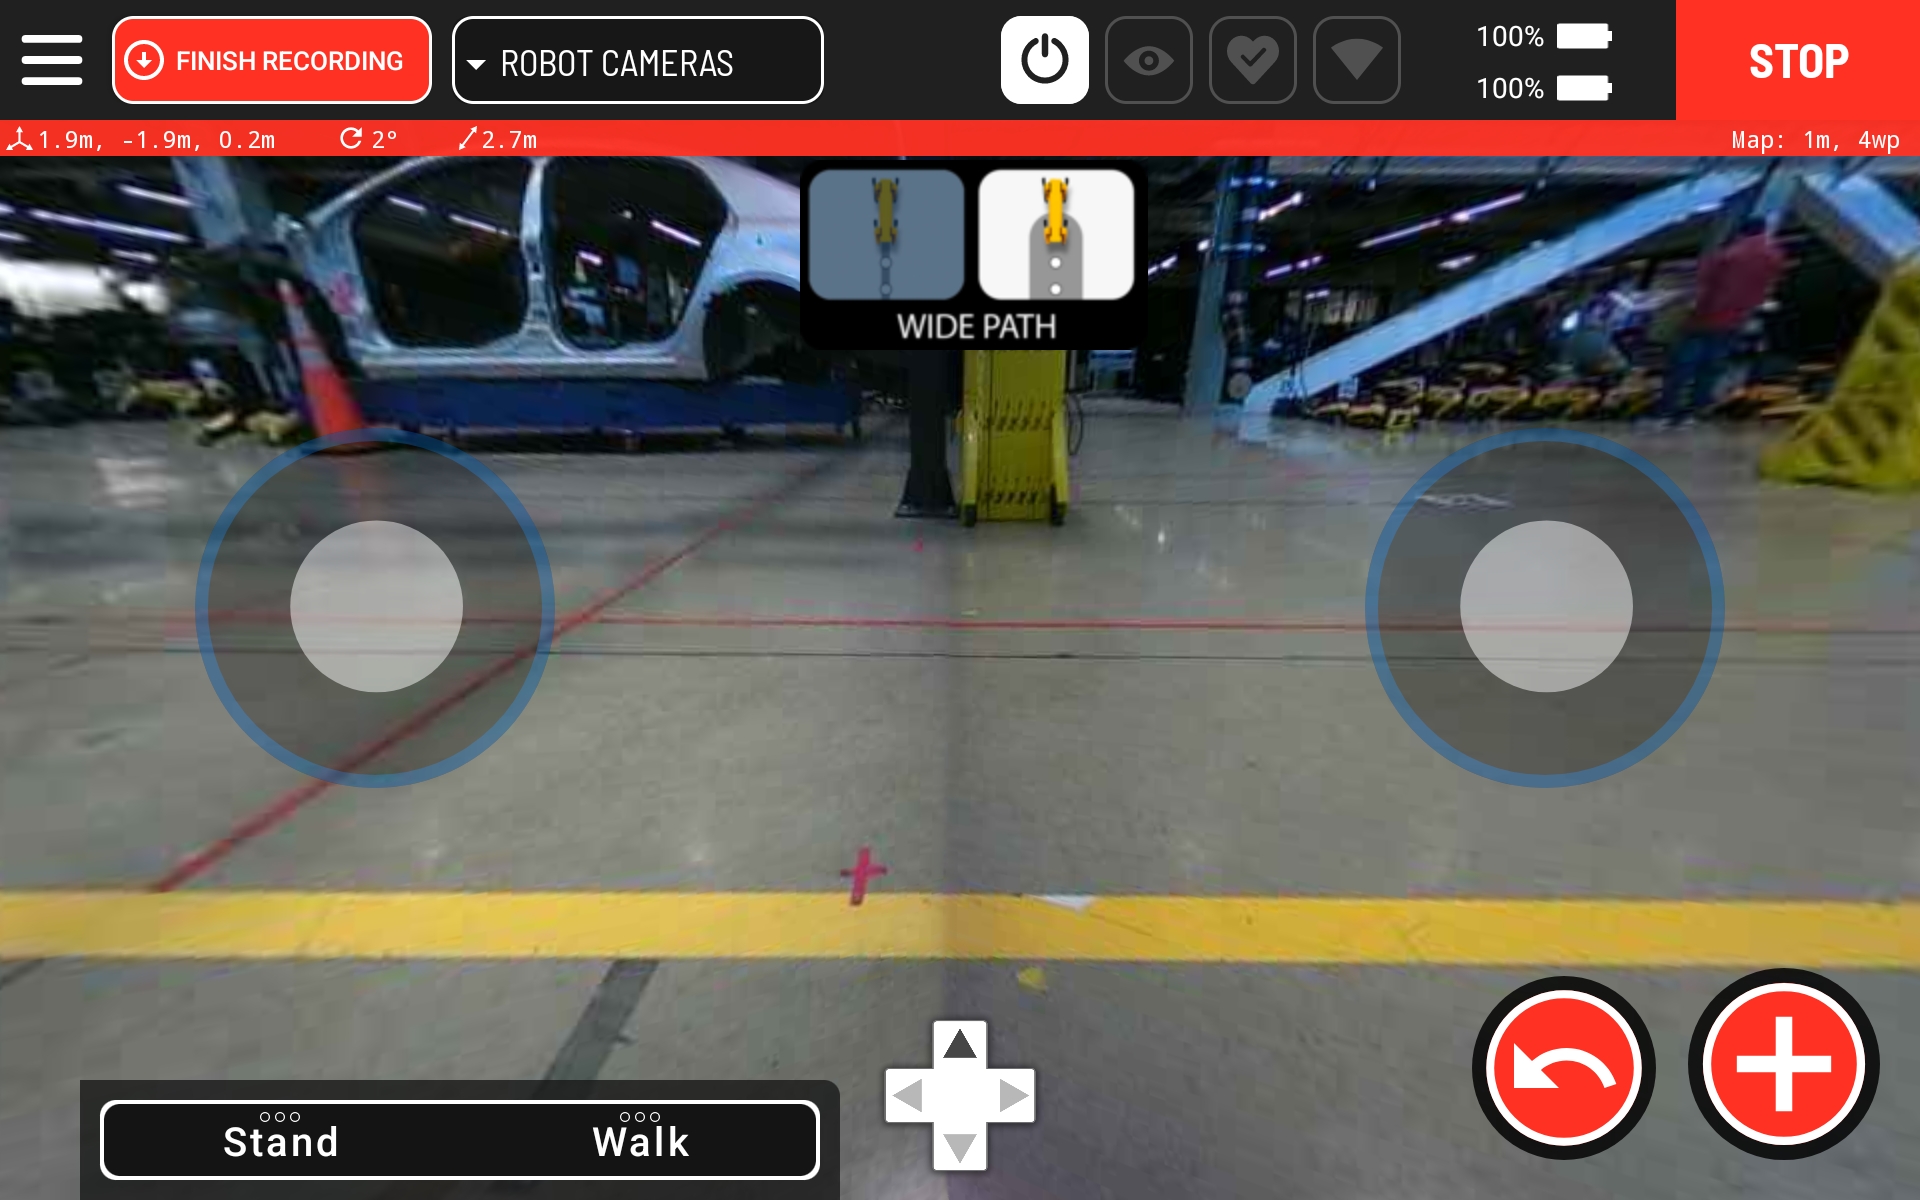
Mission playback
Next, follow these steps to play back the mission recorded in the section above.
First select
Autowalkfrom the drop-down menu in the top-left corner of the app, and then selectPlayback.Select
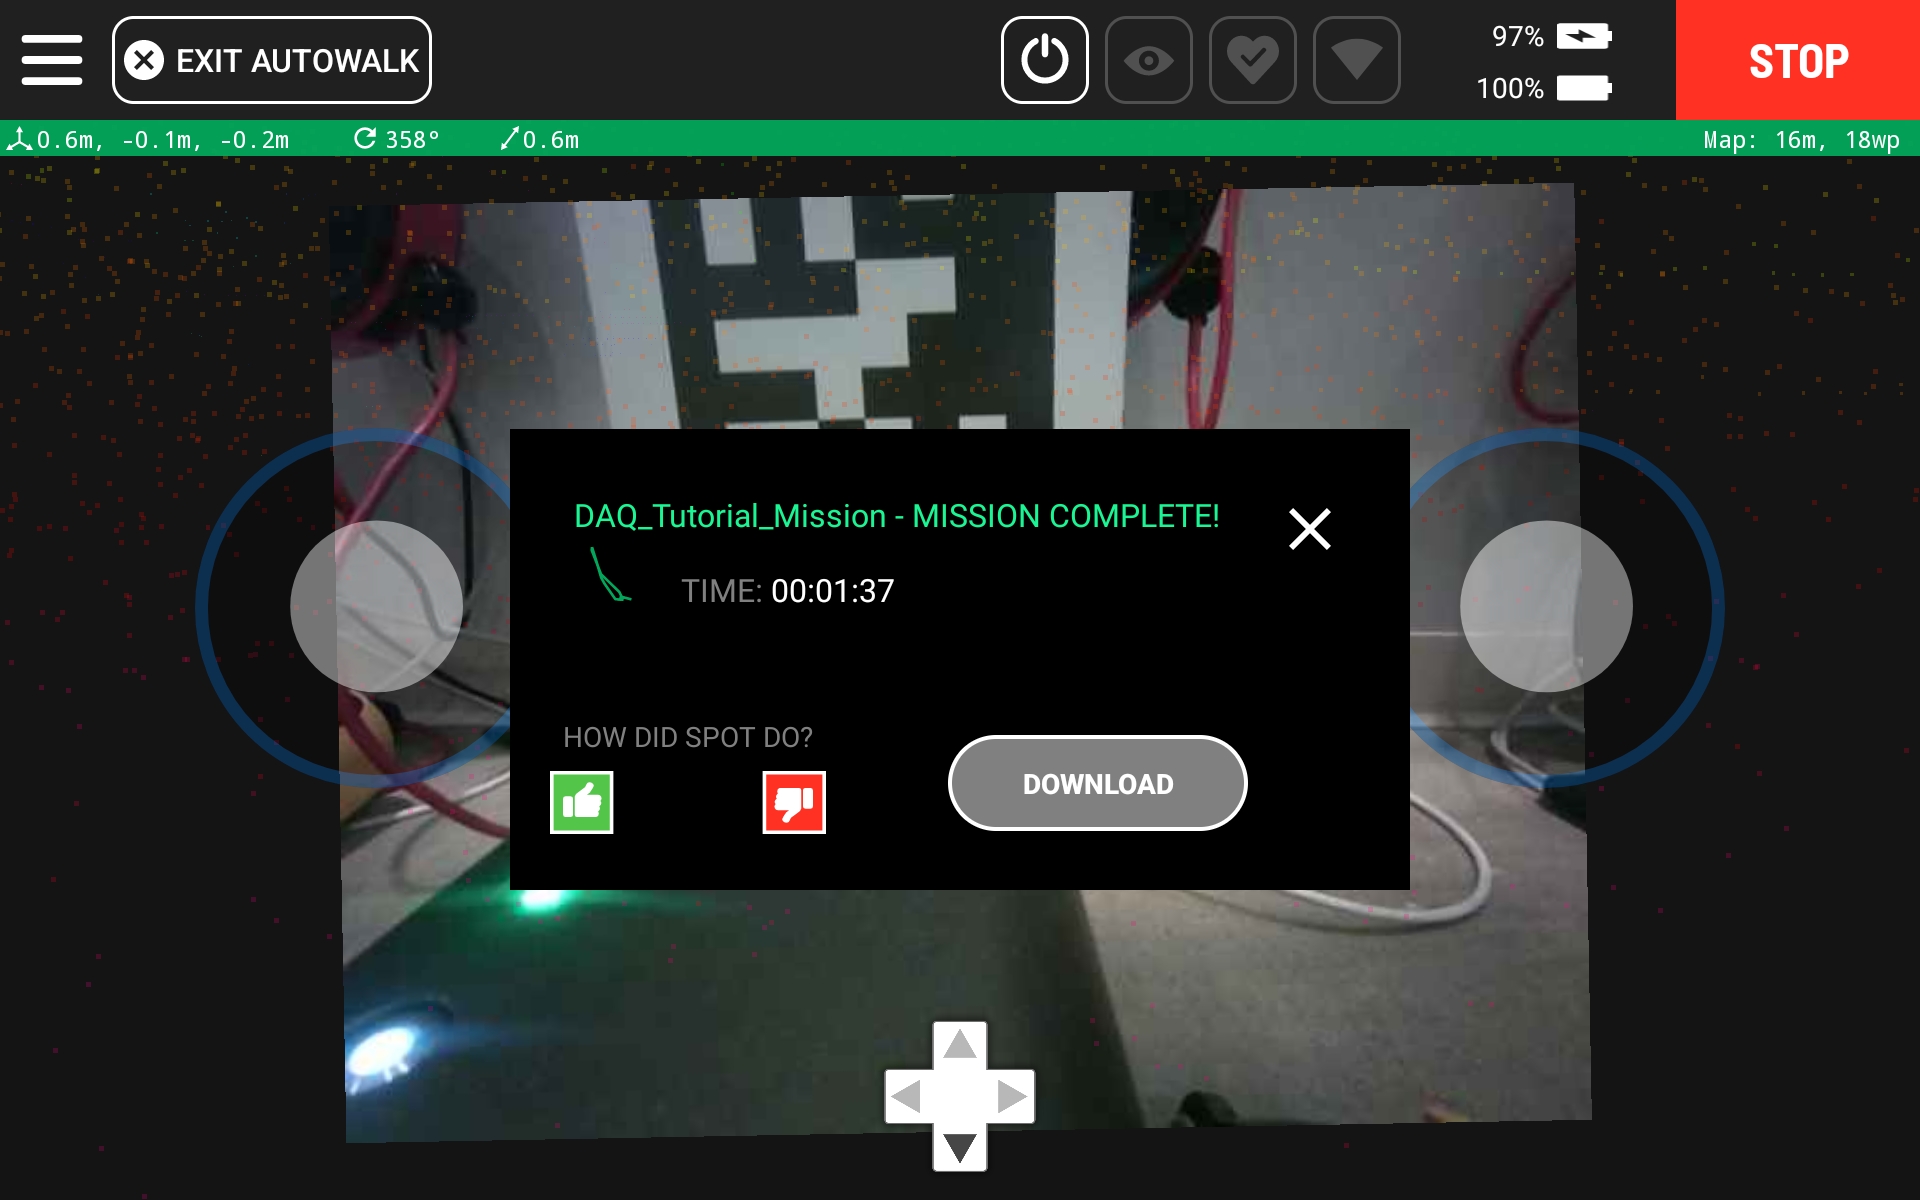
DAQ_Tutorial_Missionmission and clickContinue,ContinueandPlay Nowin the next screens and then press the green Play button in the final screen.Move the robot near the fiducial at the beginning of the mission and click
Initialize.When the mission completes, download the captured data by clicking “Sit and View Data”.
Configure the robot to automatically upload its data to the cloud.
The Post Docking Callbacks example contains scripts to enable users to upload files saved during a data acquisition mission to various endpoints, with the target use case having the callback run when Spot docks at the end of an Autowalk mission. Please follow instructions in that example to set up a callback to upload the captured data to AWS when the robot docks.